

Hey there! As a supplier of IP66 camera housing, I've seen firsthand how crucial the installation position is for getting the most out of these bad boys. In this blog, I'll share some tips on how to optimize the installation position of IP66 camera housing to ensure you're getting the best performance and security.
Understanding IP66 Camera Housing
Before we dive into the installation tips, let's quickly go over what IP66 camera housing is. IP66 is a rating that indicates the level of protection a device has against dust and water. A camera housing with an IP66 rating means it's completely dust-tight and can withstand powerful jets of water from any direction without harmful effects. This makes it ideal for outdoor use, where it might be exposed to harsh weather conditions.
We offer a range of IP66 camera housings, like the Waterproof Double Cabin Camera Housing with Optional Glass and Sunshield for Security Camera System, 7 Inch Dome Security Camera Housing, and Outdoor IP66 Large Size Digital Camera Housing with Swiper for Video Surveillance Camera. Each of these housings is designed to provide top-notch protection for your cameras, but the installation position can really make or break their effectiveness.
Factors to Consider When Choosing an Installation Position
1. Coverage Area
The first thing you need to think about is the area you want to monitor. You want to place the camera housing in a spot that gives you the widest possible view of the area of interest. For example, if you're monitoring a parking lot, you might want to install the camera on a pole in the middle of the lot or on a building overlooking it. This way, you can capture as much of the parking lot as possible.
2. Lighting Conditions
Lighting is another important factor. You don't want your camera to be facing directly into the sun or other bright light sources, as this can cause glare and make it difficult to see what's going on. On the other hand, you also don't want the camera to be in a completely dark area, as this can result in poor image quality. Try to find a spot where the lighting is balanced and where the camera can get enough light to capture clear images.
3. Height and Angle
The height and angle at which you install the camera housing can also have a big impact on its performance. Generally, it's a good idea to install the camera at a height that gives you a good view of the area without being too high or too low. For example, if you're monitoring a storefront, you might want to install the camera at eye level or slightly above it.
The angle of the camera is also important. You want to make sure the camera is pointed in the right direction and that it's not tilted too far up or down. A good rule of thumb is to aim the camera so that it's looking straight ahead or slightly downward.
4. Environmental Factors
Since IP66 camera housings are designed for outdoor use, you need to consider the environmental factors in the area where you're installing them. For example, if the area is prone to high winds, you'll want to make sure the camera housing is securely mounted to prevent it from being blown over. If the area is prone to flooding, you'll want to install the camera housing at a higher elevation to avoid water damage.
Tips for Optimizing the Installation Position
1. Conduct a Site Survey
Before you start installing the camera housing, it's a good idea to conduct a site survey. This involves walking around the area you want to monitor and looking for the best possible installation positions. Take note of the coverage area, lighting conditions, height, angle, and environmental factors at each potential location. You can also use a camera or a smartphone to take pictures or videos of the area to help you make a more informed decision.
2. Use Mounting Accessories
Most IP66 camera housings come with mounting accessories, such as brackets and poles. Make sure you use these accessories to install the camera housing securely and at the right height and angle. If you're not sure how to use the mounting accessories, refer to the manufacturer's instructions or consult with a professional installer.
3. Test the Camera
Once you've installed the camera housing, it's important to test the camera to make sure it's working properly. Turn on the camera and check the image quality and coverage area. If you're not satisfied with the results, you may need to adjust the position or angle of the camera housing.
4. Regular Maintenance
Even if you've installed the camera housing in the optimal position, it's still important to perform regular maintenance to ensure its continued performance. This includes cleaning the camera lens, checking the connections, and inspecting the housing for any signs of damage. By performing regular maintenance, you can extend the lifespan of the camera housing and ensure that it's always providing you with clear and reliable images.
Conclusion
Optimizing the installation position of IP66 camera housing is essential for getting the best performance and security from your cameras. By considering factors such as coverage area, lighting conditions, height, angle, and environmental factors, and by following the tips outlined in this blog, you can ensure that your camera housing is installed in the best possible position.
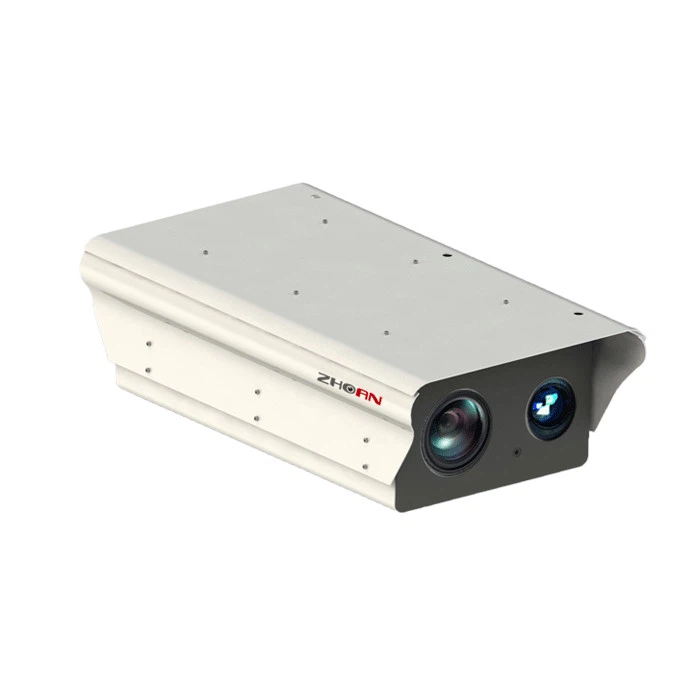

If you're in the market for IP66 camera housing, we've got you covered. Check out our Waterproof Double Cabin Camera Housing with Optional Glass and Sunshield for Security Camera System, 7 Inch Dome Security Camera Housing, and Outdoor IP66 Large Size Digital Camera Housing with Swiper for Video Surveillance Camera. And if you have any questions or need help with installation, don't hesitate to reach out. We're here to help you find the perfect solution for your security needs.
References
- Manufacturer's instructions for IP66 camera housings
- Industry best practices for camera installation


