

Hey there! I'm with a CCTV Camera Housing supply company, and I often get asked about how to adjust the pan of a CCTV camera in its housing. It's a crucial aspect of setting up your surveillance system right, so I thought I'd share some tips and tricks with you all.
First off, let's understand what "pan" means in the context of a CCTV camera. Pan refers to the horizontal movement of the camera. It allows the camera to cover a wider area by moving from left to right or vice versa. Being able to adjust the pan properly ensures that you can capture all the important areas you want to monitor.
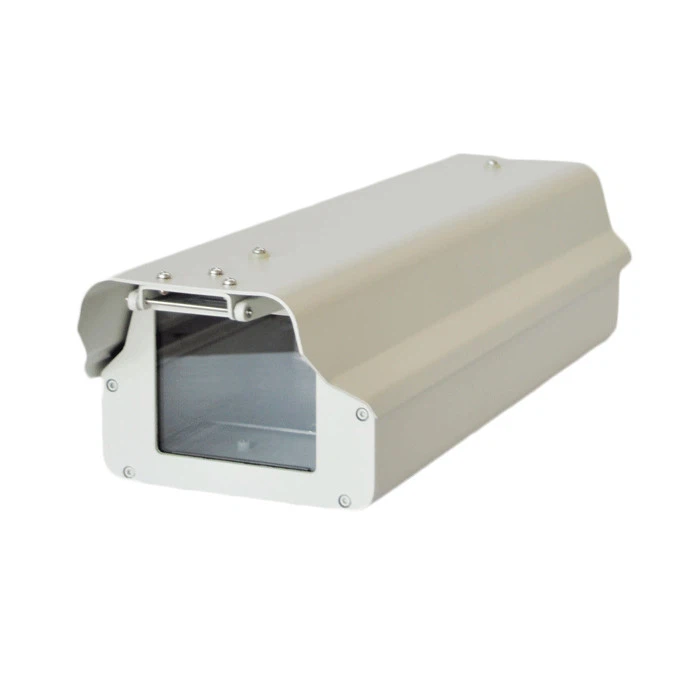
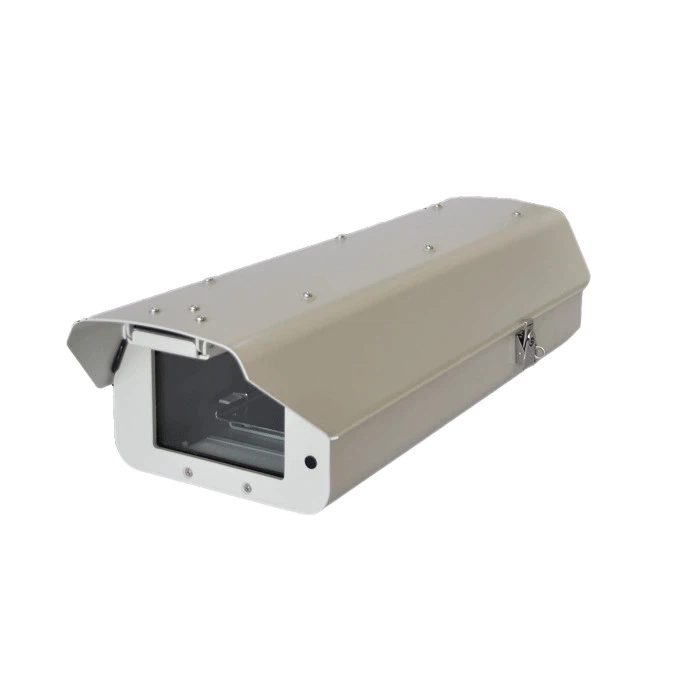
Now, before you start adjusting the pan, make sure you've got the right housing for your camera. We offer a range of high - quality camera housings, like the Waterproof Medium Size Digital Camera Housing with Light for Security Cameras. This housing is not only waterproof but also comes with a light, which can be super useful for night - time surveillance.
If you're using a PTZ (Pan - Tilt - Zoom) camera, our Outdoor Waterproof Small Size Camera Housing for PTZ Camera might be a great fit. It's designed to protect your PTZ camera in outdoor environments while still allowing for smooth movement.
And for those who need a larger camera housing, we have the Outdoor IP66 Large Size Digital Camera Housing with Swiper for Video Surveillance Camera. The swiper on this housing helps keep the lens clean, ensuring clear footage at all times.
So, once you've got the right housing, here's how you can adjust the pan of your CCTV camera.
Step 1: Prepare Your Tools
You'll need a few basic tools for this job. A small screwdriver is usually all you need, but depending on the housing model, you might also need an Allen wrench. Make sure the power to the camera is turned off before you start working to avoid any electrical hazards.
Step 2: Locate the Pan Adjustment Mechanism
Most camera housings have a dedicated mechanism for adjusting the pan. This could be a set of screws or a locking knob. In some cases, it might be hidden under a cover. Look for markings or instructions on the housing to find the exact location.
Step 3: Loosen the Locking Mechanism
Once you've found the pan adjustment mechanism, use your screwdriver or Allen wrench to loosen the locking screws or knob. This will allow the camera to move freely in the horizontal direction.
Step 4: Adjust the Pan
Now comes the fun part. Gently move the camera left or right to the desired position. You can do this by hand, but be careful not to apply too much force, as you don't want to damage the camera or the housing.
If you're setting up the camera for a specific area, it's a good idea to have a reference point. For example, if you're monitoring a door, align the camera so that the door is in the center of the frame.
Step 5: Test the Position
Before you lock the camera in place, turn the power back on and check the view on your monitoring device. Make sure the camera is covering the area you want it to. You might need to make some small adjustments to get the perfect view.
Step 6: Tighten the Locking Mechanism
Once you're satisfied with the position, use your tools to tighten the locking screws or knob. Make sure it's tight enough to hold the camera in place, but don't overtighten, as this could damage the housing or the adjustment mechanism.
Step 7: Final Checks
After tightening the locking mechanism, double - check the position of the camera. Give it a gentle shake to make sure it's secure. Also, check the view on the monitoring device again to ensure that the camera hasn't moved out of position during the tightening process.
Troubleshooting
Sometimes, you might run into some issues when adjusting the pan. Here are a few common problems and how to solve them:
The camera won't move
If the camera doesn't move when you try to adjust the pan, the locking mechanism might still be too tight. Loosen it a bit more and try again. If that doesn't work, there could be a mechanical problem with the housing or the camera itself. In this case, it's best to contact a professional for help.
The camera moves too freely
On the other hand, if the camera moves too freely even after you've tightened the locking mechanism, the screws or knob might not be tight enough. Try tightening them a bit more, but be careful not to overtighten.
The view is distorted
If the view on the monitoring device is distorted after adjusting the pan, it could be due to a misaligned lens. Check the lens and make sure it's centered and not obstructed. You might also need to adjust the focus of the camera.
In conclusion, adjusting the pan of a CCTV camera in its housing is not as difficult as it might seem. With the right tools and a little patience, you can get your camera set up to cover the areas you want to monitor.
If you're in the market for a new camera housing or need more advice on camera installation and adjustment, feel free to reach out to us. We're always here to help you find the best solutions for your surveillance needs.
References
- General knowledge from years of working in the CCTV Camera Housing supply industry.
- Manufacturer's manuals for various camera housings.


